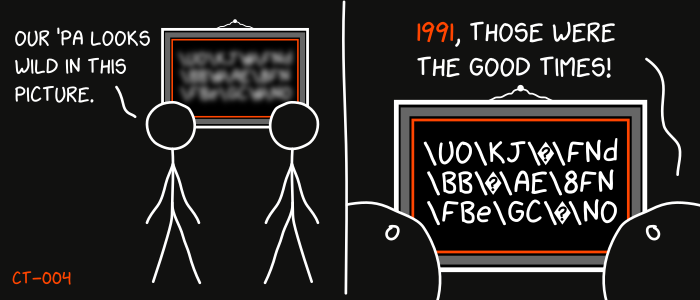
CT-004: GPG encrypted communication

This is the 4th report in the new Cypherpunk Transmission series.
Motivation
We cannot expect anyone to grant us privacy out of their beneficence. Distrust the infrastructure and any encryption services provided by 3rd parties, by default. We must encrypt manually, locally.
Mechanisms such as TLS and passwords only partially protect the content of our messages. For a lot of threat models, it is better to use encryption for everything, not just secret data.
Although not perfect, GPG is still pretty good and very relevant even after decades. It is also relatively easy to use. Follow this simple guide to learn the basics.
Assumptions
1. Key exchange
1.1 Export your public key
Open up a terminal and list your secret keys first:
gpg -K
The output should contain at least one block like this:
sec   rsa4096 2022-11-01 [SC]
      BCE15F74D18112824899608AFD103120DC7BCC36
uid           [ultimate] escapethe3ra@disroot.org
ssb   rsa4096 2022-11-01 [E]
The next line below sec should contain your key’s fingerprint.
Now you can export your publick key in .asc (ascii armored) format:
gpg --export -a BCE15F74D18112824899608AFD103120DC7BCC36 > escapethe3ra@disroot.org
Note: replace the key fingerprint and file name accordingly.
1.2 Share your public key
The previous command should have created a file that starts with —–BEGIN PGP PUBLIC KEY BLOCK—– and ends with —–END PGP PUBLIC KEY BLOCK—–. This can be shared with the world.
You could make your pubkey publicly available by uploading it to your own website. It is recommended to also include your key’s fingerprint.
1.3 Fetch your partner’s public key
To start communicating, you need to encrypt your messages with your partner’s public key.
If you don’t have one currently, that’s okay. I am happy to play that role.
Download my public key3 file first:
wget https://monero.observer/3RA_pubkey.asc
If the key’s fingerprint matches BCE15F74D18112824899608AFD103120DC7BCC36, import it:
gpg --show-keys 3RA_pubkey.asc
gpg --import 3RA_pubkey.asc
Note: if the fingerprint does not match, do not import it. Delete the file and try downloading it again.
2. Sending encrypted messages
2.1 Write the message
Write a simple message and save it to msg-1.txt:
echo "Hello 3RA! GPG is easy :)" > msg-1.txt
2.2 Encrypt and send the message
Now let’s encrypt and sign the message:
gpg --encrypt --sign --armor --recipient BCE15F74D18112824899608AFD103120DC7BCC36 msg-1.txt
You should now have a msg-1.txt.asc file that looks like this:
-----BEGIN PGP MESSAGE-----
[..]
-----END PGP MESSAGE-----
Send me that message via any communication channel included in my contact-signed.txt4 file (preferably email or XMPP).
Note: remember to include your own public key if you want to receive an encrypted reply.
3. Decrypting messages
3.1 Decrypting raw text streams
Run gpg in a terminal and paste the message at the prompt. Then, simply press CTRL+D to signal end of message and trigger decryption. You should see the decrypted message in your terminal.
3.2 Decrypting files
For files, type in:
gpg file_name_encrypted
Type N and enter a new file name if you don’t want to overwrite the original.
Alternatively, you can skip all prompts by using gpg --decrypt file_name_encrypted > file_name_decrypted.
Observations
- any file type can be encrypted and decrypted (pdf, images, audio, video, text); watch out for malware and don’t execute stuff you don’t trust
- GPG encryption only hides the contents of files (does not hide meta-data: message size, sender and receiver)
- protect your secret key with a strong passphrase and never share it with anyone
- respect your partner by fully encrypting your replies (ie. do not expose your partner’s messages in cleartext)
That’s it for this basic GPG communication guide. If you need help, you know how and where to contact me.
Onward.
Feedback
Let me know if you find this helpful and, depending on interest, I will do my best to post a new Cypherpunk Transmission report every (other?) Monday.
Questions, edits and suggestions are always appreciated @ /about/.
-3RA
Credit goes to gnuteardrops from monero.graphics for the amazing xkcd graphic. Work and xkcd Script font licensed under CC BY-NC 3.0.
Update: modified email to reflect current address.
-
https://www.gnupg.org/download/ ↩